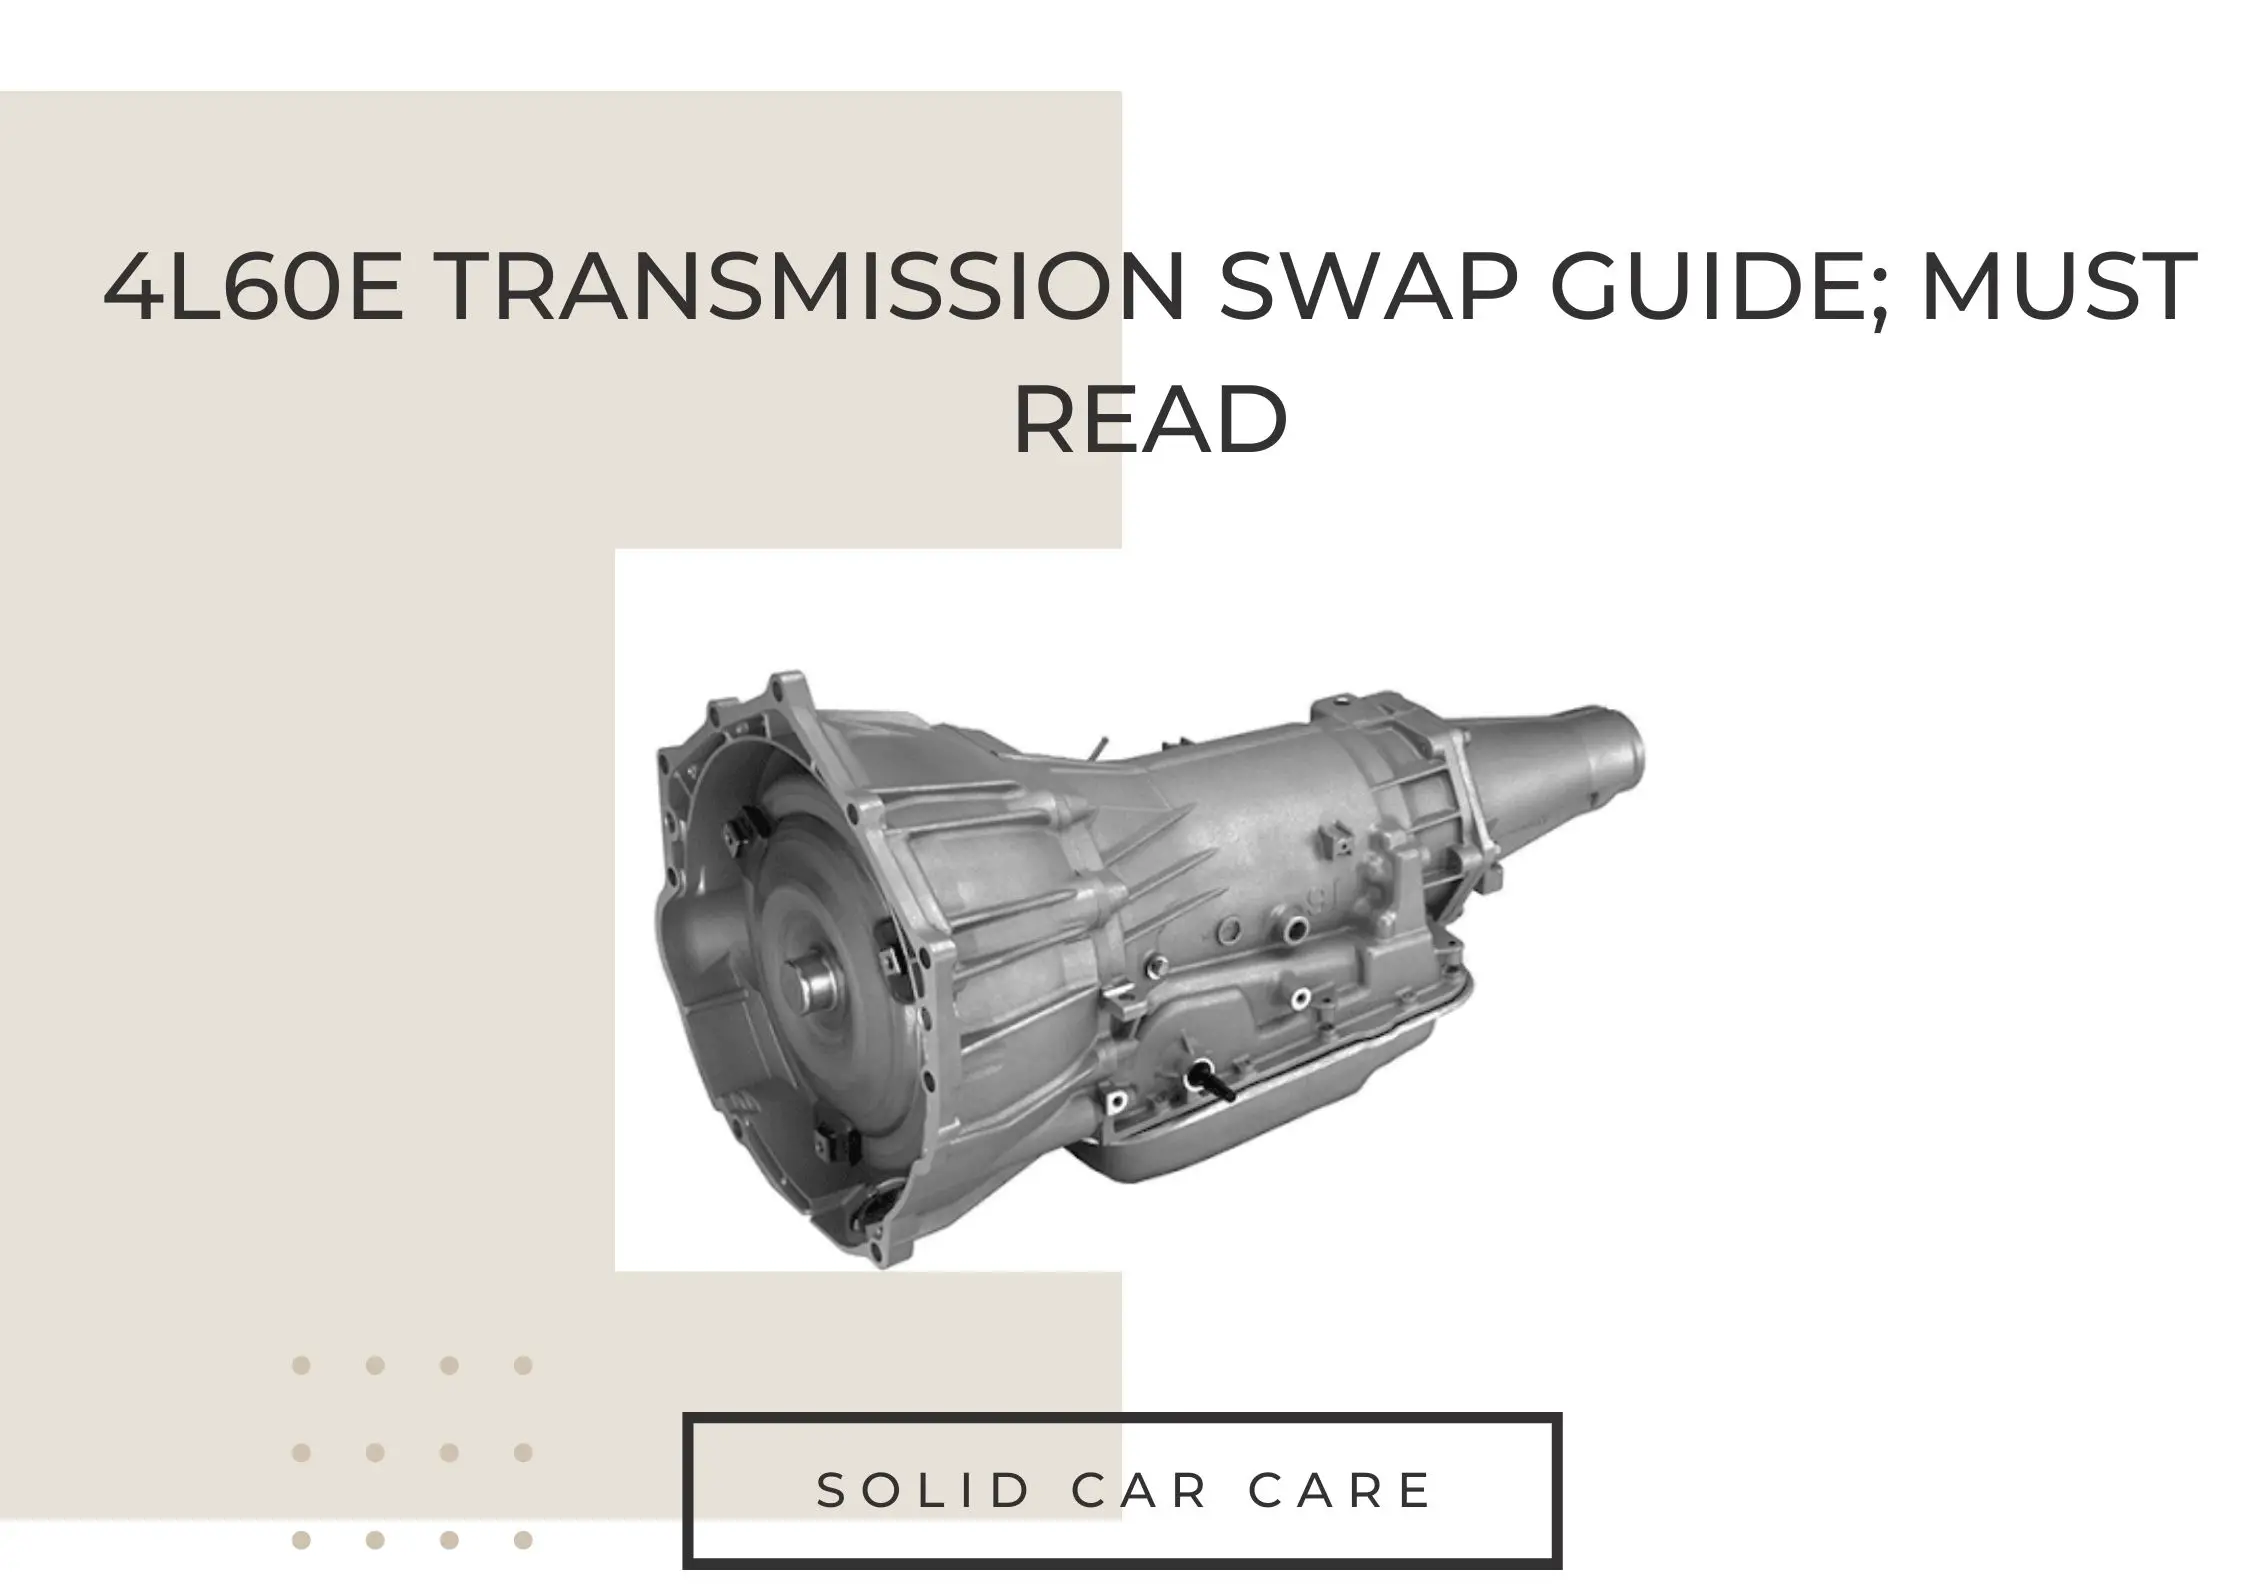
4L60E Transmission Swap Guide; Must Read

When embarking on a 4L60E transmission swap, follow these essential steps:
- Research and ensure compatibility.
- Gather necessary tools and parts.
- Remove the old transmission.
- Prepare the vehicle for installation.
- Install the 4L60E transmission and connect all components.
- Test and fine-tune as needed.
- Enjoy the improved performance and reliability of your vehicle.
The 4L60E Transmission Swap Guide provides a comprehensive overview of swapping a 4L60E transmission into a vehicle. This guide offers a concise yet informative resource for a successful transmission swap that covers the selection process, preparation, installation steps, connecting components, fluid checks, fine-tuning, and maintenance.
Table of Contents
4L60E Transmission Swap procedure

Step 01- Selecting the Right Transmission
Before diving into the swap, selecting the right 4L60E transmission for your vehicle is crucial. Consider the vehicle’s power and torque requirements and any modifications or upgrades you plan to make.
Research compatible 4L60E transmissions that can handle the desired power output. This ensures optimal performance and durability, especially when pushing the vehicle to its limits.
Step 02- Preparing for the Swap
Preparation is key to a successful transmission swap. Gather all the necessary tools and equipment, including a transmission jack, fluid pump, torque wrench, and safety gear.
Prioritize safety by disconnecting the battery and setting up jack stands to support the vehicle securely. Acquire knowledge through resources such as repair manuals or online forums to familiarize yourself with the specific steps and challenges involved in a 4L60E transmission swap.
Step 03- Removing the Old Transmission
Begin by draining the fluids and removing any components that obstruct access to the transmission. This may include exhaust components, driveshafts, and crossmembers.
Disconnect electrical connections, such as sensors, wiring harnesses, and the linkage. Use a transmission jack to lower the old transmission safely and carefully remove it from the vehicle. Take note of any existing issues or concerns to address during the swap.
Step 04- Installing the 4L60E Transmission
Prepare the new 4L60E transmission for installation by ensuring it is properly supported and aligned. Attach the torque converter to the flexplate, ensuring the alignment pins are correctly seated.
Carefully align the transmission with the engine and secure it in place using the appropriate bolts. Reconnect the electrical connections, such as the transmission harness, sensors, and solenoids. Double-check all connections and ensure proper alignment.
Step 05- Connecting Additional Components
Install the torque converter and flexplate, ensuring they are aligned and securely fastened. Mount the transmission cooler and connect the lines to ensure proper fluid cooling.
Secure the transmission crossmember and install the driveshaft, ensuring proper alignment. Take care to tighten all bolts and connections to the manufacturer’s specifications.
Step 06- Fluid and System Checks
Fill the 4L60E transmission with the correct type and amount of transmission fluid as specified by the manufacturer. Check the fluid levels using the dipstick and adjust if necessary.
Perform system tests and inspections, including checking for leaks, verifying proper engagement of gears, and ensuring smooth shifting. Conduct a thorough inspection to identify any issues or potential problems.
Step 07- Fine-Tuning and Troubleshooting
Fine-tuning is essential for optimal performance. Adjust shift points and the TV cable according to the manufacturer’s recommendations. Conduct a test drive to evaluate the transmission’s behavior and functionality.
Monitor for smooth shifting, abnormal noises, or any signs of malfunction. Address any issues promptly, utilizing troubleshooting techniques specific to the 4L60E transmission.
Step 08- Test Drive and Post-Swap Maintenance
Conclude the transmission swap process by taking the vehicle for a test drive. Evaluate the overall performance, including shifts, responsiveness, and torque delivery. Monitor the transmission’s behaviour closely, ensuring it operates smoothly and without any unusual symptoms.
Schedule regular maintenance and inspections to keep the 4L60E transmission in optimal condition, extending its lifespan and preserving the vehicle’s performance.
How long does it take to change a 4l60e transmission?
The time required to change a 4L60E transmission can vary depending on several factors, including the experience level of the person performing the swap, the availability of tools and equipment, and any unforeseen complications that may arise during the process. However, as a general estimate, changing a 4L60E transmission can take anywhere from 4 to 10 hours.
The process involves several steps, such as removing the old transmission, preparing the new transmission for installation, connecting additional components, filling the transmission with fluid, and performing system checks. Each step requires careful attention to detail and proper execution.
Factors that can influence the time required for a 4L60E transmission swap include the accessibility of the transmission in the vehicle, any rust or corrosion that needs to be addressed, the need to replace additional components or seals, and the efficiency of the person performing the swap.
How to Bypass EVAP Canister? Exploring the Considerations and Implications
Solid Car Care
What years are interchangeable for 4L60E?
When it comes to the 4L60E transmission, there are several years and models that are interchangeable. Here is a general guideline for the compatibility of the 4L60E transmission:
- Chevrolet and GMC Trucks/SUVs:
- 1993-2006: Most 2WD and 4WD models with the V6 or V8 engines.
- 2007-2008: Certain models with the V8 engine (not all).
- 2009-2013: Most models with the V8 engine.
- 2014-2018: Most models with the V8 engine (not all).
- It’s important to note that compatibility may vary depending on the specific engine, vehicle options, and other factors. Always consult the vehicle’s documentation or a trusted source for the exact interchangeability information.
- Chevrolet Camaro and Pontiac Firebird:
- 1994-2002: Most V6 and V8 models.
- Chevrolet and GMC Full-Size Vans:
- 1993-2002: Most models with the V6 or V8 engines.
- Chevrolet Impala and Pontiac Grand Prix:
- 1997-2008: Most models with the V6 engine.
- Chevrolet Corvette:
- 1994-2004: Most models with the V8 engine.
- Other GM Vehicles:
- The 4L60E transmission was also used in various other GM vehicles such as the Buick Roadmaster, Cadillac Fleetwood, and Oldsmobile Bravada. The compatibility will depend on the specific model and year.
It’s important to note that while the years mentioned generally have interchangeability, there can be variations and specific requirements within each year range. Factors such as engine size, vehicle options, and electronic controls can affect compatibility. It’s always recommended to consult reliable sources, such as vehicle documentation or professional mechanics, to ensure the correct transmission compatibility for your specific vehicle.
Conclusion
A 4L60E transmission swap can breathe new life into a vehicle, providing enhanced performance and durability. By following the steps outlined in this guide, selecting the right transmission, and carefully executing each phase of the swap, you can successfully upgrade your vehicle’s transmission to a 4L60E. Enjoy the benefits of smoother shifting, improved power delivery, and a transmission that can handle the demands of your driving style.
Some related FAQs
Can I swap a 4L60E transmission into any vehicle?
The compatibility of a 4L60E transmission swap depends on various factors, including the specific vehicle make, model, and engine. Researching and ensuring that the 4L60E transmission is compatible with your vehicle before proceeding with the swap is essential.
Do I need any specialized tools for a 4L60E transmission swap?
While some basic automotive tools are necessary, a few specialized tools, such as a transmission jack, fluid pump, torque wrench, and diagnostic scanner, can make the process easier. These tools help ensure a smooth and efficient transmission swap.
Can I perform a 4L60E transmission swap or need professional assistance?
The complexity of a transmission swap requires a certain level of mechanical knowledge and experience. While some experienced individuals may be able to tackle the swap themselves, it is generally recommended to seek professional assistance to ensure proper installation and minimize the risk of potential issues.
How long does a 4L60E transmission typically last?
The lifespan of a 4L60E transmission can vary depending on various factors, including maintenance, driving habits, and vehicle load. A well-maintained 4L60E transmission can last around 150,000 to 200,000 miles or more with proper maintenance and regular servicing.
Actuator Clicking When Car Is Off; Causes, Fixing, And Prevention
Solid Car Care


