Tail Light Fuse Keeps Blowing; Causes And Fixing
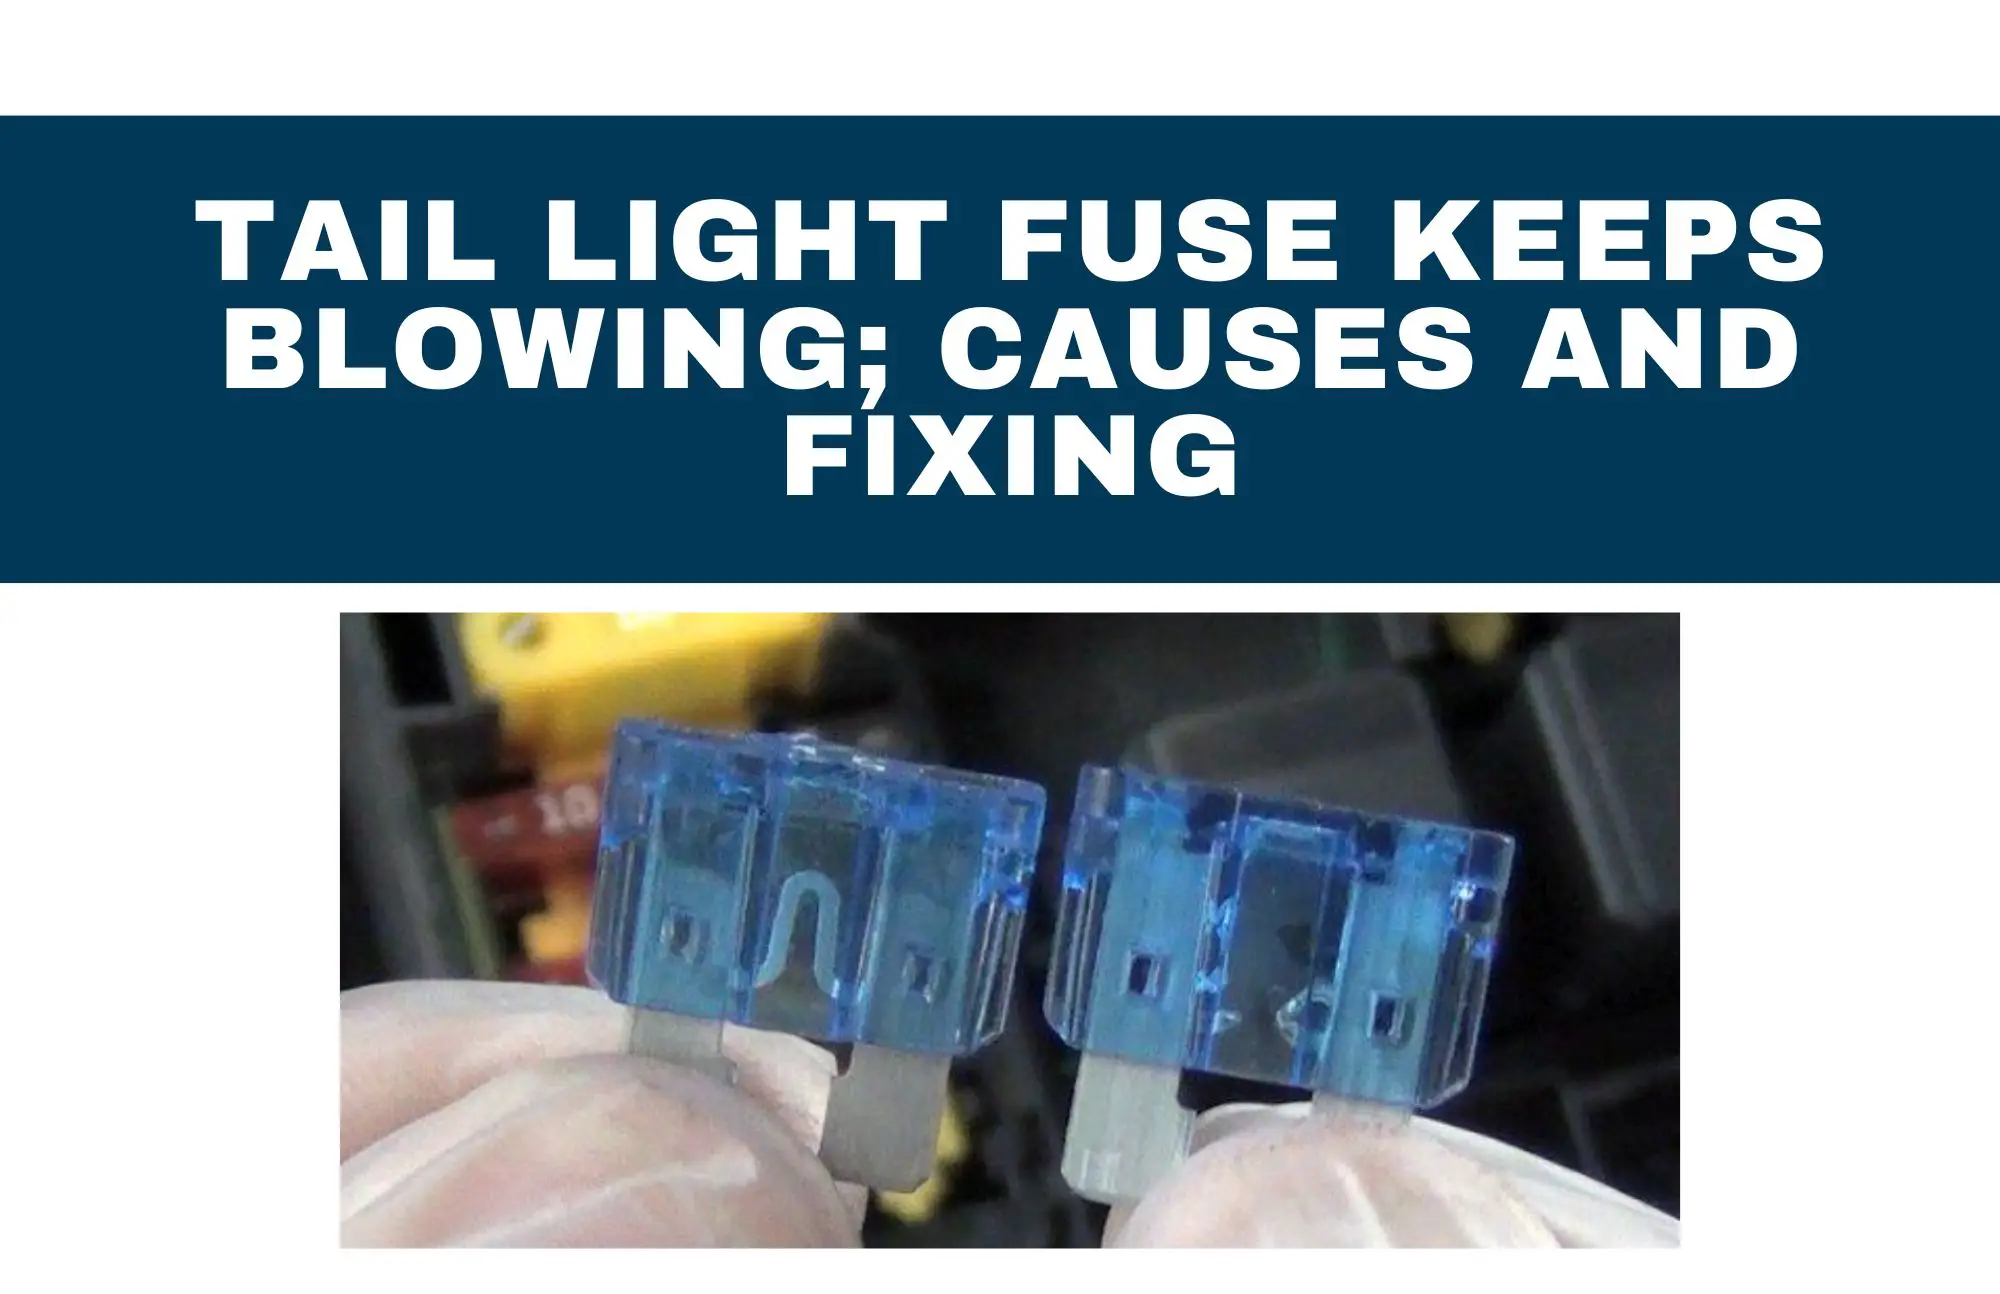
Are you tired of dealing with the troublesome issue of a tail light fuse that keeps blowing? It’s certainly a vexing problem that can compromise both your frustration levels and your safety on the road.
But fear not! In this article, we will share some expert tips and techniques to help you identify and resolve the underlying cause of this persistent fuse problem.
So, if you’re ready to shed some light on this issue and restore the functionality of your tail lights, let’s dive into the world of troubleshooting and find a solution that will keep you driving safely.
Table of Contents
Key Takeaways
- Removing all the tail light bulbs can help determine if the short circuit is in the wiring or in a bulb.
- Disconnecting components such as license plate lights and side marker lights one by one can help identify which component is causing the short.
- Visual inspection of the wiring for any obvious damage like cuts or melted insulation can help locate the short circuit.
- Repairing the short by splicing or replacing the damaged wiring and replacing faulty components can resolve the issue.
Isolate the Short
To isolate the short in your tail light circuit, start by removing all the tail light bulbs and replacing the blown fuse.
If the fuse still blows, the short is likely in the wiring.
Next, systematically disconnect components such as license plate lights and side marker lights, testing the fuse after each disconnect to identify the culprit.
This process will help you pinpoint the source of the short and proceed with the necessary repairs.
Remove all tail light bulbs
Start by removing all the tail light bulbs to isolate the short circuit in the wiring connected to it. This will help you determine if the short is in the bulbs themselves or in the wiring. Here are the steps to follow:
- Disconnect the tail light bulbs from their sockets.
- Replace the blown fuse with a new one.
- If the new fuse doesn’t blow, the short is likely in one of the bulbs. Proceed to inspect and replace the faulty bulb.
- If the new fuse still blows without the bulbs, the short is in the wiring.
- Continue troubleshooting by disconnecting other components, such as license plate lights and side marker lights, to identify which one is causing the short.
- Inspect the wiring for any visible damage, like cuts or melted insulation.
- Perform a wiggle test by gently moving the wiring harness while observing the taillights for flickering or blown fuses.
- Once you’ve located the short, repair the damaged wiring or replace faulty components.
Remember to consult your car’s manual for specific guidance and seek professional help if needed.
Disconnect components
To isolate the short circuit, systematically disconnect the various components connected to the tail light circuit, such as license plate lights and side marker lights. Troubleshooting techniques involve testing electrical connections and identifying common wiring issues. A helpful way to organize this process is by using a table to keep track of your progress:
Start by disconnecting the license plate lights and replacing the fuse. If the fuse remains intact, move on to the side marker lights, and then any aftermarket accessories wired to the tail light circuit. After each disconnect, test the fuse to see if the short persists. This method helps pinpoint which component is causing the short. Remember to properly use insulation materials when repairing any damaged wiring and understand the role of fuses in electrical circuits.
Inspect the Wiring
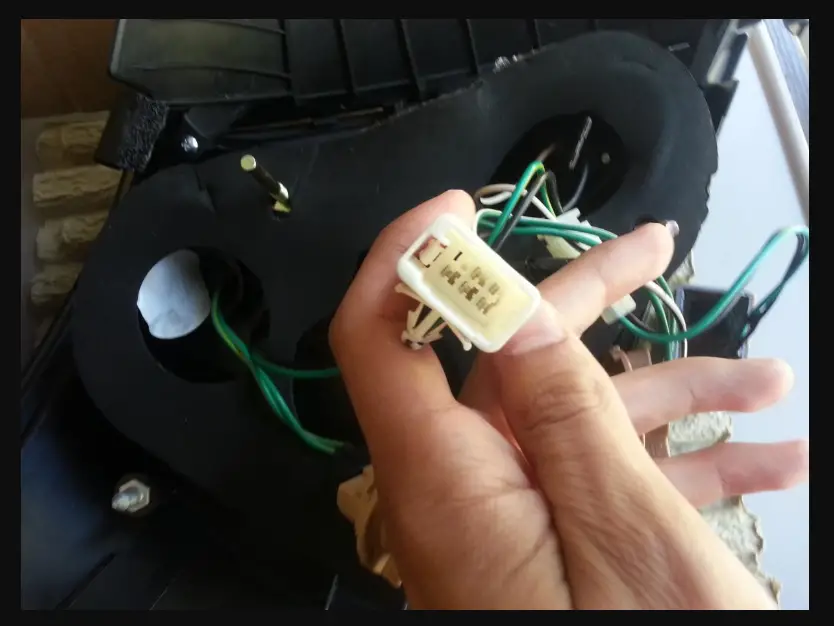
To inspect the wiring for a repeatedly blown tail light fuse, start with a visual inspection. Look for any obvious damage like cuts, abrasions, or melted insulation. Pay attention to areas where wires might be rubbing against sharp edges or components.
Additionally, perform a wiggle test by gently moving the wiring harness while someone observes the taillights. This can help identify loose connections or internal wire breaks that may be causing the short circuit.
Visual inspection
When conducting a visual inspection to identify the source of a short circuit in the tail light circuit, carefully examine the wiring for any visible signs of damage such as cuts, abrasions, or melted insulation. This will help you pinpoint the area where the short circuit may be occurring.
Here are two steps to assist you in this process:
- Visual inspection: Inspect the wiring closely and look for any obvious signs of damage. Check for cuts or abrasions in the insulation, as well as any areas where the wires might be rubbing against sharp edges or components.
- Wiggle test: Gently wiggle the wiring harness while someone observes the taillights to see if the lights flicker or the fuse blows. This can help identify loose connections or internal wire breaks.
Wiggle test
During the visual inspection of the tail light circuit, if no visible signs of damage are found, the next step is to perform a wiggle test to identify any loose connections or internal wire breaks.
The wiggle test involves gently moving the wiring harness while someone observes the taillights to see if there are any flickering lights or blown fuses. This test helps troubleshoot and pinpoint the location of any loose connections or internal wire breaks.
If the lights flicker or the fuse blows during the wiggle test, it indicates a problem with the wiring that needs to be addressed. It’s important to exercise caution and prioritize electrical safety during this test.
If you’re unsure about performing the wiggle test or if the issue persists, it’s advisable to seek professional help. Remember to never replace a blown fuse with a higher-amp one, as it can be a fire hazard.
Repair and Replace
To resolve the issue of a repeatedly blown tail light fuse, you need to fix the short in the wiring and replace any faulty components.
Once you have located the short, securely splice or replace the damaged wiring, ensuring to insulate any repairs.
If the short was caused by a faulty connector or switch, replace it with a compatible replacement.
Fix the short
To fix the short in your tail light circuit, you’ll need to locate and repair the damaged wiring, as well as replace any faulty components. Here are the steps you can take to fix the short:
- Isolate the Short:
- Remove all tail light bulbs: Start by removing all the bulbs from your taillights and brake lights. If the fuse still blows, the short is in the wiring, not in a bulb.
- Disconnect components: Systematically disconnect components like license plate lights and side marker lights. Test the fuse after each disconnect to identify the component causing the short.
- Inspect the Wiring:
- Visual inspection: Check for any obvious damage like cuts or melted insulation. Look for areas where wires might be rubbing against sharp edges.
- Wiggle test: Gently wiggle the wiring harness while someone observes the taillights to identify loose connections or internal wire breaks.
- Repair and Replace:
- Fix the short: Repair the damaged wiring by securely splicing or replacing it. Insulate any repairs using heat shrink tubing or electrical tape.
- Replace faulty components: If a faulty component caused the short, replace it with a compatible replacement.
Remember to consult your car’s manual for specific wiring diagrams and troubleshooting tips. If you’re not comfortable working with electrical wiring or if the short is difficult to locate, seek help from a qualified mechanic. Always prioritize electrical safety precautions and avoid using higher-amp fuses.
Replace faulty components
Are you experiencing a repeated blown tail light fuse and suspect a faulty component in your circuit?
When it comes to replacing faulty components, there are a few key points to keep in mind.
First, it’s important to use troubleshooting techniques to identify the specific component causing the short circuit. Common causes of faulty components include damaged connectors, switches, or wiring.
To prevent future short circuits, make sure to regularly inspect and maintain your tail lights.
Additionally, choosing compatible replacement components is crucial to ensure proper functioning of your tail light circuit. Refer to your car’s manual for wiring diagrams and troubleshooting tips.
Conclusion
In conclusion, by following the steps provided in this article, you can successfully diagnose and fix the issue of a blowing tail light fuse.
It’s important to isolate the short circuit, inspect the wiring for damage, and make any necessary repairs or replacements.
Remember to prioritize safety and seek professional help if needed.
With these troubleshooting techniques, you can ensure the proper functioning of your vehicle’s tail lights and avoid any potential hazards.

